The Death of the Flash: Why Ambient is the 2026 Aesthetic
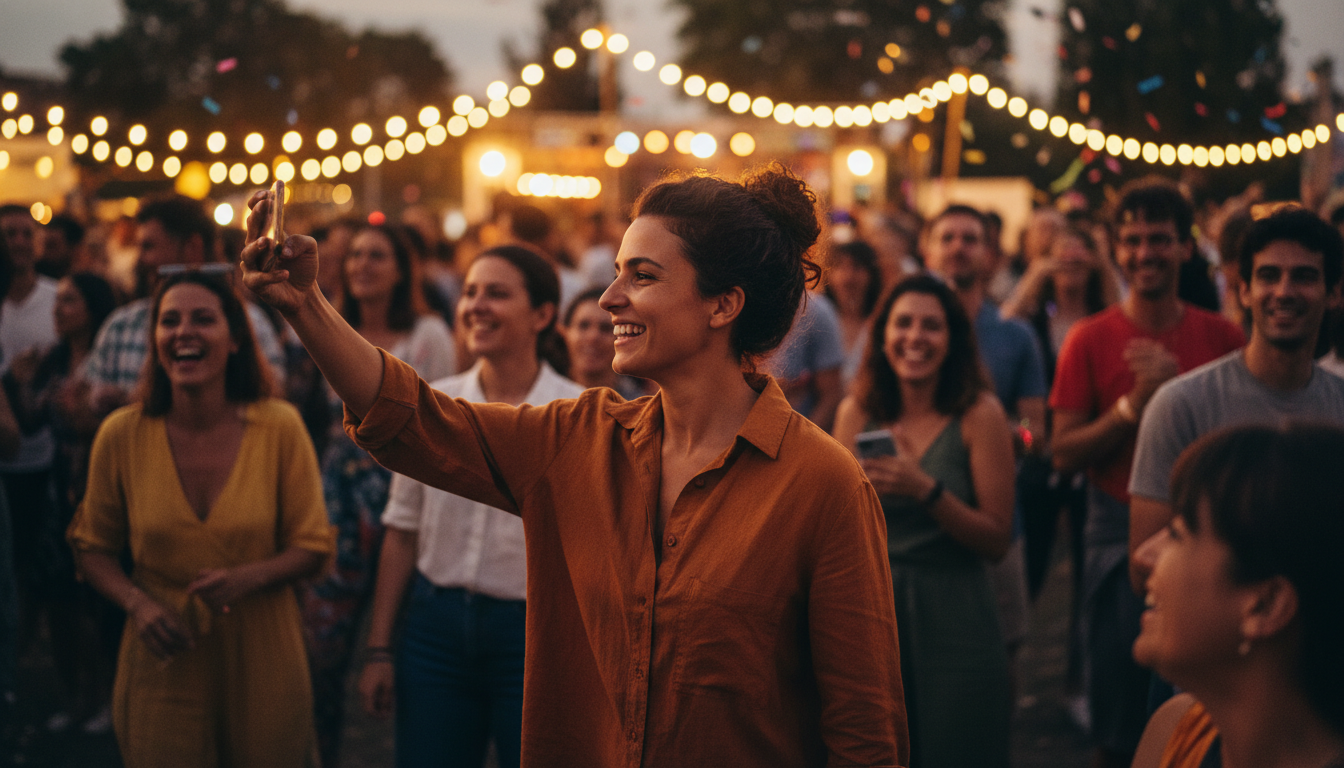
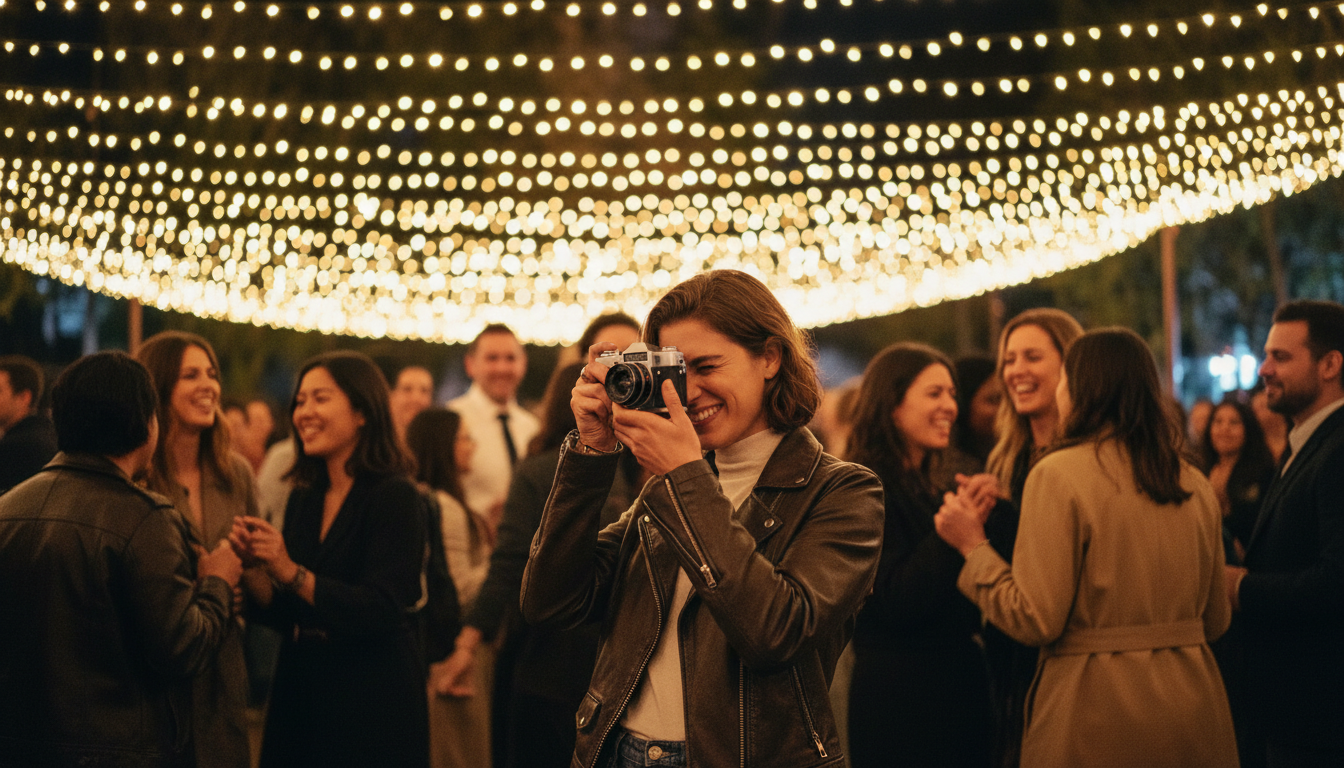
We’ve all been there: the music is perfect, the drinks are flowing, and the mood lighting is impeccable. Then—ZAP—someone fires off a high-intensity flash that makes everyone look like they’re being interrogated. It’s 2026, and the 'paparazzi flash' look is officially out. Today's premium events are all about 'vibes'—neon accents, fairy lights, and candlelight.
Capturing these moments without a flash used to mean ending up with a blurry, grainy mess. But with the latest sensor technology in the iPhone 17 Pro and its competitors, combined with the right technique, you can capture professional-grade night shots that actually feel like the party. This guide will show you how to master the shadows and keep the mood intact.
1. Finding the 'Key' Light in the Chaos
Even in a dark room, there is almost always a light source. The secret to a great night photo isn't adding more light; it's positioning your subject to use what’s already there.
Look for the Glow
Whether it’s the glow from a DJ booth, a neon sign, or even a guest’s phone screen, these are your best friends. If you're taking a candid shot of a friend, wait until they move closer to a lamp or a candle.
The 'Angle of Interest'
Position yourself so the light hits the subject's face at a 45-degree angle. This creates 'Rembrandt lighting,' a classic photography technique that adds depth and prevents the subject from looking flat. In 2026, we want shadows—they provide the drama that a flat flash destroys.
2. Using Your 2026 Smartphone Sensors to the Max
By now, most flagship phones feature massive 1-inch sensors and advanced computational photography. However, the 'Auto' mode can still overexpose night scenes, making them look like it's daytime. That ruins the atmosphere.
- Manual Exposure Control: On your screen, tap the subject and slide the 'sun' icon down. Intentionally underexposing a night shot keeps the blacks deep and the highlights from blowing out.
- RAW Mode is Essential: If your phone supports ProRAW or UltraRAW, use it. These files retain much more data in the shadows, allowing you to 'recover' details later without adding digital noise.
- Night Mode Timing: Be careful with long-exposure Night Modes. While great for landscapes, they create 'ghosting' on people. If your subject is moving, keep your exposure time under 1 second.
3. The 'Breathe and Brace' Technique
Camera shake is the number one killer of low-light photos. When the shutter stays open longer to let in light, even a heartbeat can cause a blur.
If you don't have a tripod (and who carries one to a rooftop party?), you need to become the tripod. Tuck your elbows into your ribs, take a deep breath, and exhale slowly as you tap the shutter button. Better yet, lean against a wall, a pillar, or a table to stabilize your hands. This physical stability allows the sensor to capture a much sharper image than AI-stabilization ever could alone.
4. Embracing the 'Motion Blur' as Art
Sometimes, you can't fight the darkness, so you should lean into it. If you're at a high-energy event like a wedding after-party or a club-style birthday bash, sharp photos can actually feel static and boring.
Try a 'shutter drag' technique. By keeping the shutter open slightly longer while moving the camera deliberately, you can create streaks of light that convey movement and energy. This 'intentional camera movement' (ICM) is a major trend in 2026 event photography, giving a high-fashion, editorial feel to standard party shots.
5. Post-Processing: The 2026 AI Cleanup
Even the best shot might have some 'noise' or grain. Modern editing apps now use neural networks to denoise images without turning faces into 'plastic.'
When editing your night shots:
- Lower the Blacks: This hides the grain in the darkest parts of the photo.
- Adjust White Balance: Night lights are often very yellow. Pull the 'temperature' slider toward the blue side to make the skin tones look more natural.
- Sharpen Sparingly: Over-sharpening makes noise more visible. Focus on sharpening only the eyes and the edges of the clothing.
6. How to Share These High-Res Gems
There is nothing more frustrating than taking a stunning, 48-megapixel low-light photo only to have it compressed into a pixelated mess by a group chat app. When you're dealing with the subtle gradients of a night photo, compression is your enemy.
This is where KnotShots changes the game for event hosts. Instead of chasing guests for photos or settling for low-quality social media uploads, KnotShots provides a dedicated space where everyone can upload their full-resolution night shots. Because we preserve the original file quality, those atmospheric, moody shots look just as good on a 4K screen as they did on your phone at the party.
Summary: Your Night Photography Checklist
If you want to be the person who captures the 'cool' photos that everyone wants to be tagged in, remember these three things:
- Hunt the light: Never stand with your back to the light; put the light on your subject's face.
- Kill the flash: Trust your sensor and your steady hands.
- Check your lens: Night photos look terrible if there's a fingerprint smudge on the glass—wipe it once before you start.
Low-light photography isn't about fighting the dark; it's about celebrating it. By following these steps, you’ll capture the true essence of the evening, from the first toast to the last dance.
Ready to see everyone's best shots from your next event? Create your KnotShots gallery today and start collecting the memories in high definition.
Related Articles
2026 Night Event Photography: Capture Pro Shots Without a Flash
Tired of grainy evening photos? Master low-light photography using your smartphone with these pro-level tips for 2026 events.
Capture the Vibe: The 2026 Guide to No-Flash Night Photography
Stop ruining event moods with harsh flashes. Learn how to capture stunning low-light photos using ambient light and modern camera tech.

2026 Guide: Pro Event Photos With Only Your Phone
Capture high-res memories like a pro using 2026's latest smartphone features and these 5 simple expert techniques.