The 2026 Guide to Low-Light Event Photography: Capturing the Magic Without the Blur
Why Your Low-Light Photos Usually Fail
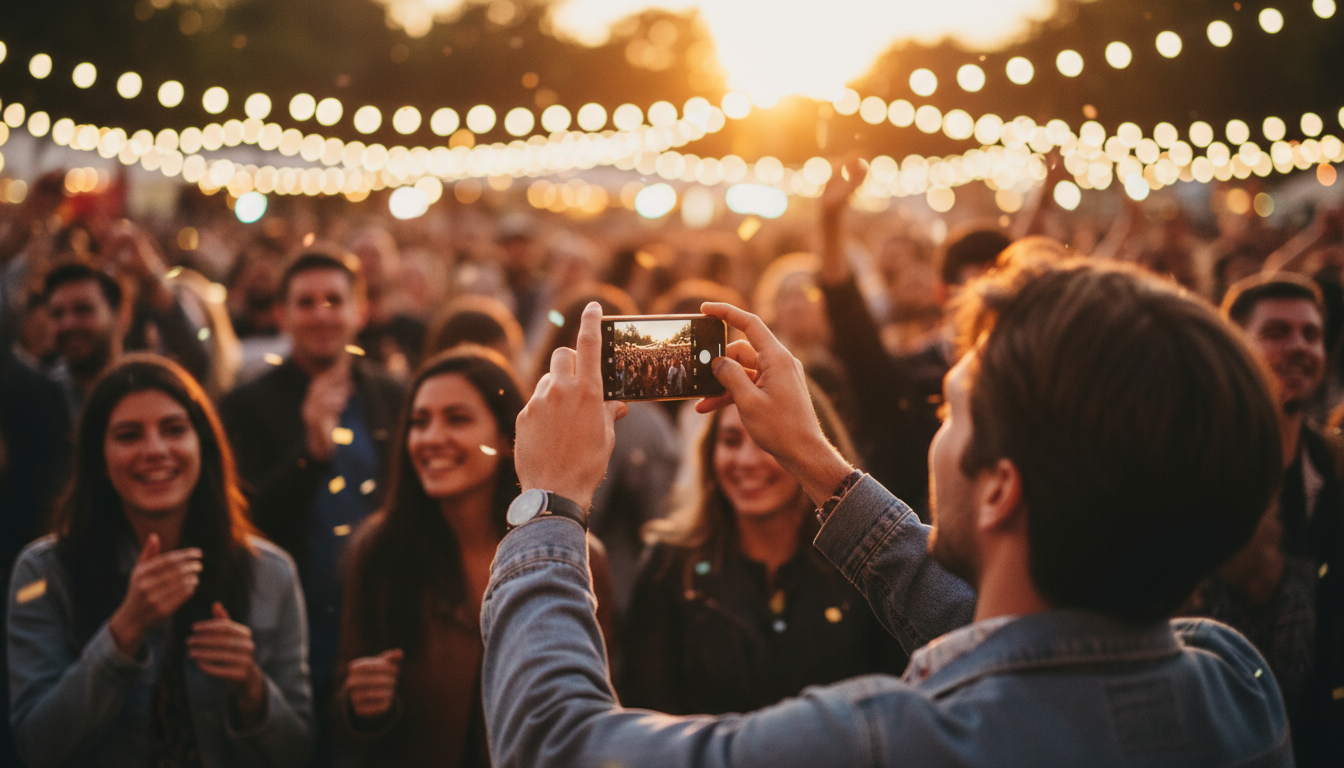
You know the scene. The house lights dim, the candles on the cake are lit, or the DJ kicks off the after-party with a moody purple glow. You pull out your smartphone—the latest 2026 model that promised 'professional-grade' optics—and snap a photo.
The result? A blurry, grainy mess where your best friend looks like a smudge and the background is a sea of digital noise.
Capturing motion in low light is the final frontier of event photography. While modern AI-assisted cameras have made huge strides, they still struggle with the physics of a dark room. If you want to stop deleting half your gallery the morning after an event, you need a strategy that goes beyond just 'point and shoot.'
1. Master the 'Exposure Lock' Strategy
Most people let their phones decide how bright a photo should be. In a dark venue, your phone's sensor tries to compensate by artificially brightening the whole scene. This results in 'blown-out' skin tones and visible grain (noise).
The Fix: Tap on the brightest part of your screen (like a candle or a face under a spotlight) and slide the sun icon down. By manually underexposing the shot, you force the camera to keep the shutter speed faster, which reduces motion blur. It is much easier to brighten a dark, sharp photo in an editing app than it is to fix a bright, blurry one.
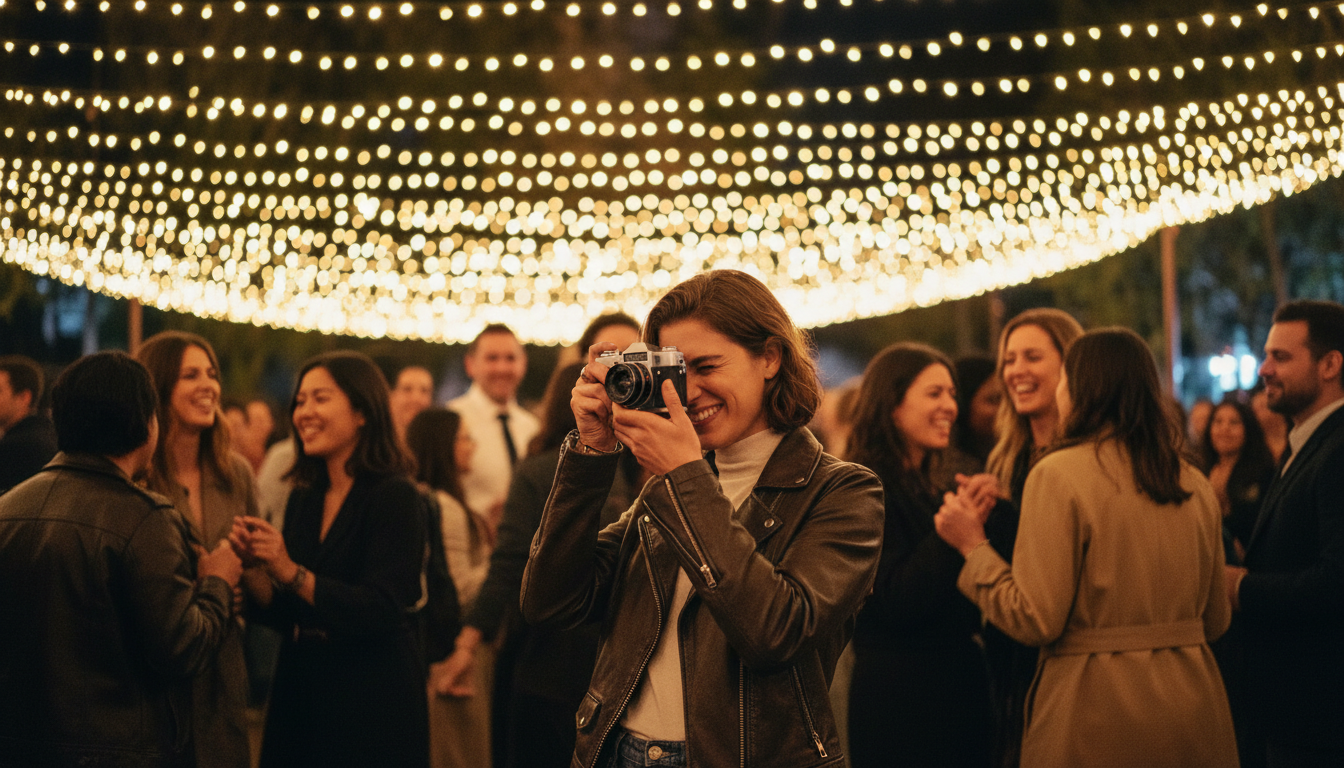
2. The 'Statue' Technique: Three Points of Contact
In 2026, optical image stabilization (OIS) is standard, but it can't perform miracles if you are swaying after a glass of champagne. Professional photographers use tripods; you have to use your body.
To get a crisp shot in a dimly lit ballroom:
- Tuck your elbows: Pin them against your ribcage.
- Exhale: Take a breath and snap the photo as you finish exhaling.
- The Lean: If there is a wall, a table, or a sturdy chair nearby, lean against it. Creating a third point of contact with a solid object reduces micro-shakes by up to 70%.
3. Don't Fear the 'Pro Mode' (Even for Amateurs)
Whether you’re using an iPhone 17 or a Samsung S26, your camera has a hidden 'Pro' or 'Manual' mode. In low light, the most important setting is Shutter Speed.
- For stationary subjects: Set your shutter speed to 1/60th of a second.
- For dancing or movement: Try to hit 1/125th or 1/250th.
You might need to bump up your ISO to 800 or 1600 to keep the image bright enough, but the 2026 sensors are designed to handle this. A little grain is 'vibe'; a blurry face is just a bad photo.
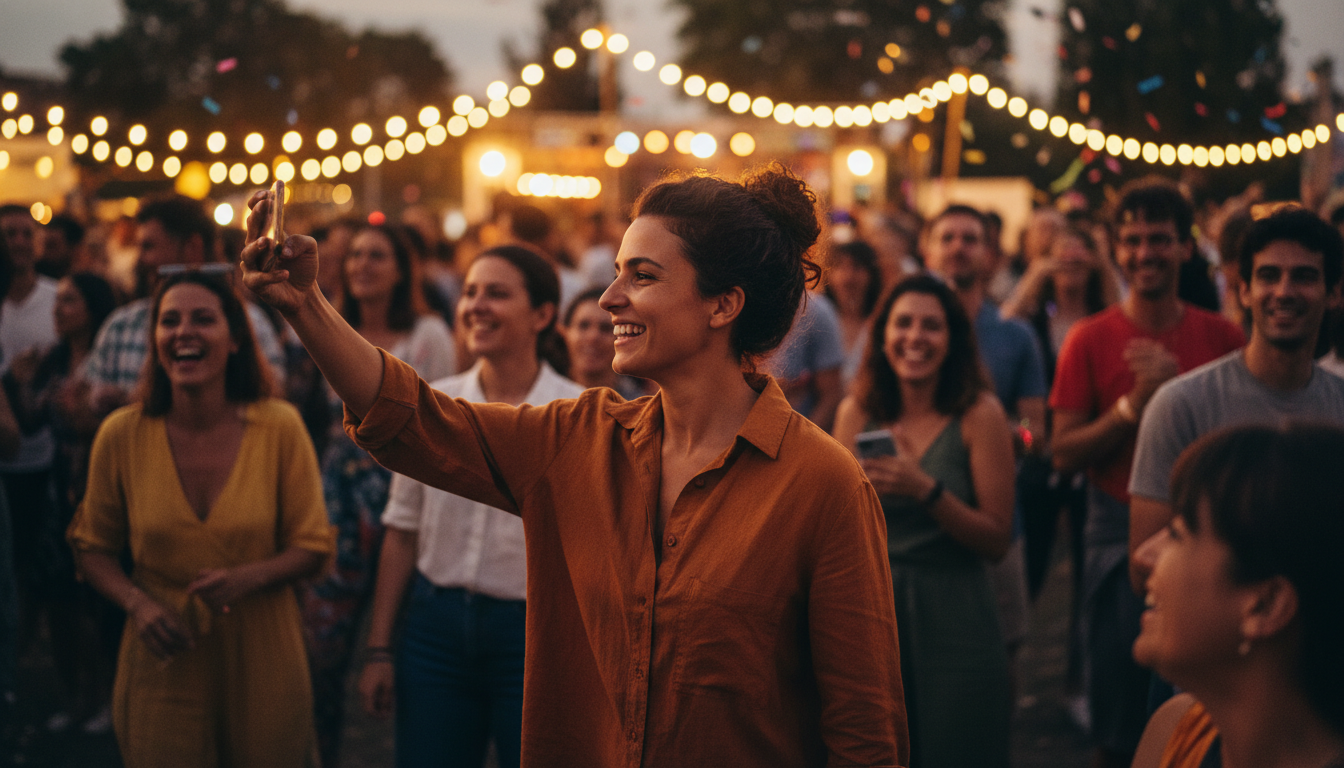
4. Skip the Flash, Find the 'Key Light'
Direct smartphone flash is the enemy of a premium event aesthetic. It flattens features and creates that dreaded 'deer in headlights' look. Instead, become a 'light hunter.'
Look for the nearest source of ambient light. Is there a neon sign? A DJ's booth? A decorative lamp? Position yourself so that light is hitting your subject’s face from the side. This creates depth and shadows that make an event photo look like it was shot for a magazine rather than a suburban basement.
5. Sharing the Full-Resolution Glow
Nothing kills a high-quality low-light photo faster than sending it through a standard messaging app. These apps use heavy compression that destroys the subtle details in shadows, turning your crisp night shot into a pixelated disaster.
When you've captured that perfect low-light shot of the toast, the last thing you want is for it to be compressed into oblivion. Using a platform like KnotShots.io ensures your high-resolution gems are preserved in their full, un-blurred glory. It allows every guest to upload their best shots to a shared gallery without losing a single pixel of quality, making sure those moody, atmospheric vibes stay intact.
6. Post-Processing: The 2026 Way
Don't just slap a 'Nashville' filter on your photo and call it a day. For low-light event shots, focus on these three specific edits:
- De-noise: Use the 'Noise Reduction' slider in your editing app (like Lightroom Mobile) to smooth out the grain in the shadows.
- Black Point: Increasing the 'Black Point' makes the dark areas of your photo look deep and intentional rather than washed out.
- Warmth: Indoor events often have yellow or orange lighting. Dropping the 'Temperature' slightly can make skin tones look more natural under artificial lights.
Summary Checklist for Your Next Event
- Check your lens: Seriously, wipe the pocket lint off your camera lens before you start.
- Avoid Digital Zoom: If you're far away, move your feet. Digital zoom in low light is a recipe for disaster.
- Burst Mode is King: When people are laughing or moving, hold down the shutter button. Out of 10 rapid-fire shots, usually, one is perfectly sharp.
Ready to see the difference? Next time the lights go down, don't put your phone away. Use these techniques to capture the candid, raw energy of the night, and then head over to KnotShots to share the memories with everyone who was there!
Related Articles
2026 Guide to Night Event Photography: Zero Flash, No Grain
Master low-light event photography with our 2026 guide. Learn to capture crisp, atmospheric photos without using a distracting flash or losing image quality.
2026 Night Event Photography: Capture Pro Shots Without a Flash
Tired of grainy evening photos? Master low-light photography using your smartphone with these pro-level tips for 2026 events.
Capture the Vibe: The 2026 Guide to No-Flash Night Photography
Stop ruining event moods with harsh flashes. Learn how to capture stunning low-light photos using ambient light and modern camera tech.