The 'Dark Room' Disaster: Why Your Event Photos Look Like Sasquatch Sightings
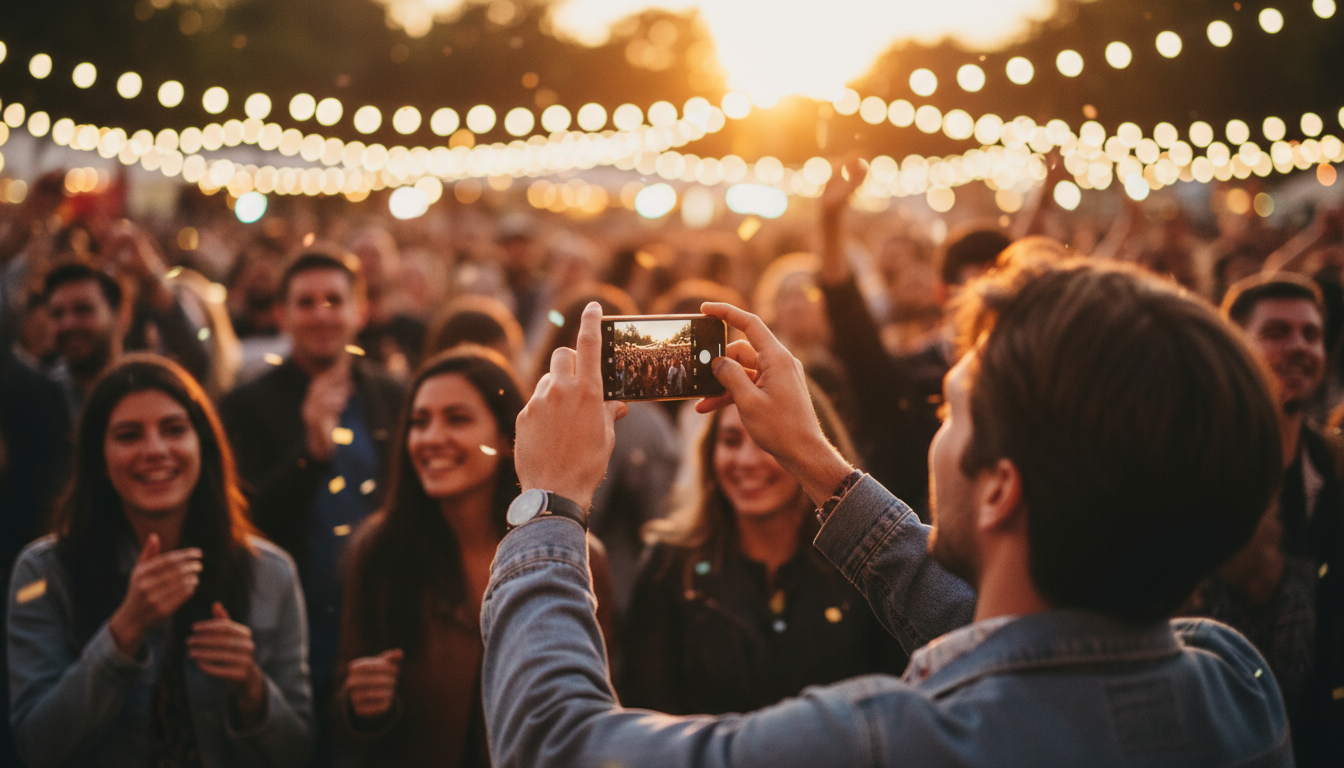
We have all been there. You are at a beautiful candlelit wedding reception or a moody 40th birthday bash in a dimly lit lounge. The vibe is perfect. The laughter is genuine. You pull out your phone to capture a candid moment of your best friend laughing, only to look at the screen and see a blurry, orange, pixelated mess that looks more like a Sasquatch sighting than a cherished memory.
In 2026, smartphone sensors have come a long way, but the laws of physics haven't changed. Less light means your camera has to work harder, usually resulting in 'noise' (that grainy texture) or 'motion blur' (the streaks when someone moves). This guide is designed to help you bypass these technical hurdles and start capturing professional-grade photos with nothing but the device in your pocket.
1. Embrace the AI-Enhanced 'Computational Raw' Mode
If you are using a flagship device from the last year or two, you likely have access to a 'Computational Raw' or 'ProRaw' setting. Don't let the technical name scare you. While standard 'Night Mode' often over-smoothes skin to the point where guests look like wax figures, Raw modes capture significantly more data.
When you shoot in this mode, the phone's AI isn't just taking one photo; it’s taking a burst of 10 to 15 images and merging them. This allows you to pull details out of the shadows later without the grain. If you are shooting a speech in a dark room, flip to your Pro settings. It takes up more storage, but for those three or four 'must-have' shots, it is the difference between a keeper and a delete.
2. The 'Steady Hand' Myth and the Magic of Bracing
Even with 2026 image stabilization, you cannot fight physics. A longer exposure means the shutter is open longer to let in light. Any movement—even your heartbeat—can cause a micro-blur.
Instead of holding your phone out at arm's length (which is the most unstable position), try these 'human tripod' hacks:
- The T-Rex Move: Keep your elbows tucked tightly against your ribs. This uses your core to stabilize the camera.
- The Lean: If there is a wall, a pillar, or even the back of a sturdy chair, lean against it.
- The Two-Handed Grip: Use both hands and use your thumb to tap the volume button to take the photo rather than tapping the screen, which often causes the phone to tilt.
3. Finding 'Good' Light in a 'Bad' Room
Photography is, by definition, the study of light. Even in a dark event space, there is light somewhere. The trick is positioning your subject to take advantage of it.
If the DJ has a spotlight, wait for the beam to sweep across the dance floor before you hit the shutter. If the table is covered in candles, have your friends lean closer to the flames so the light hits their faces from the side. This creates a dramatic, high-end 'Chiaroscuro' effect that looks intentional rather than accidental. Avoid 'flat' lighting—like the overhead fluorescent lights in a hallway—which flattens features and makes everyone look tired.
4. Managing High-Speed Motion (The Dance Floor Challenge)
Low-light photography and fast movement are natural enemies. When the 'Electric Slide' starts, your phone's automatic settings will likely fail you.
If you want to freeze the action, you need to manually increase your shutter speed (look for the 'S' or 'Shutter' setting in your camera app) to at least 1/125. Your photo will look dark on the screen, but here is the secret: you can brighten a dark photo in an editing app, but you can never 'un-blur' a moving person. Aim for the crispness first; handle the brightness later.
5. Why Professional Sharing Matters for Quality
You have spent the whole night mastering these low-light techniques. You have captured the perfect candid of the cake cutting or the CEO’s toast. But then, you send it to the group chat.
Standard messaging apps and social platforms compress your images, stripping away all that hard-earned detail and re-introducing the very grain you worked to avoid. To keep that 2026-level clarity, use a dedicated platform like KnotShots to host your event gallery. KnotShots preserves the resolution and metadata of your photos, ensuring that the moody, atmospheric shot you took looks just as crisp on your grandmother’s tablet as it does on your phone.
6. Post-Processing: De-Noising Without the 'Plastic' Look
After the event, don't just post the raw files. A quick 30-second edit can transform a 'good' low-light photo into a 'great' one. Use a tool with AI-driven De-noise features.
- Shadows: Boost these slightly to see the people in the background.
- Black Point: Increase this to make the dark areas of the room look deep and rich rather than washed out.
- Warmth: Event lighting is often too yellow or too blue. Adjust the 'Temperature' slider until skin tones look natural.
- Texture: Be careful here. Too much 'Sharpening' or 'Clarity' in a low-light photo will actually make the grain look worse.
Summary Checklist for Your Next Event
- Check your lens: Event venues are greasy. Wipe your lens with a microfiber cloth or your shirt to remove the 'dreamy' blur caused by fingerprints.
- Lock your focus: Tap and hold on a face until you see 'AE/AF Lock.' This stops the camera from hunting for focus in the dark.
- Lower the exposure: Swipe down on the sun icon next to your focus box. Underexposing slightly keeps the highlights (like candles or stage lights) from 'blowing out' into white blobs.
- Stay consistent: Take three photos of every moment. One is bound to be sharper than the others.
Stop fearing the dark. With the right bracing techniques and a basic understanding of your phone's 2026 AI capabilities, you can document any celebration with the clarity it deserves. Now, go grab those candids!
Related Articles
2026 Guide to Night Event Photography: Zero Flash, No Grain
Master low-light event photography with our 2026 guide. Learn to capture crisp, atmospheric photos without using a distracting flash or losing image quality.
2026 Night Event Photography: Capture Pro Shots Without a Flash
Tired of grainy evening photos? Master low-light photography using your smartphone with these pro-level tips for 2026 events.
Capture the Vibe: The 2026 Guide to No-Flash Night Photography
Stop ruining event moods with harsh flashes. Learn how to capture stunning low-light photos using ambient light and modern camera tech.